
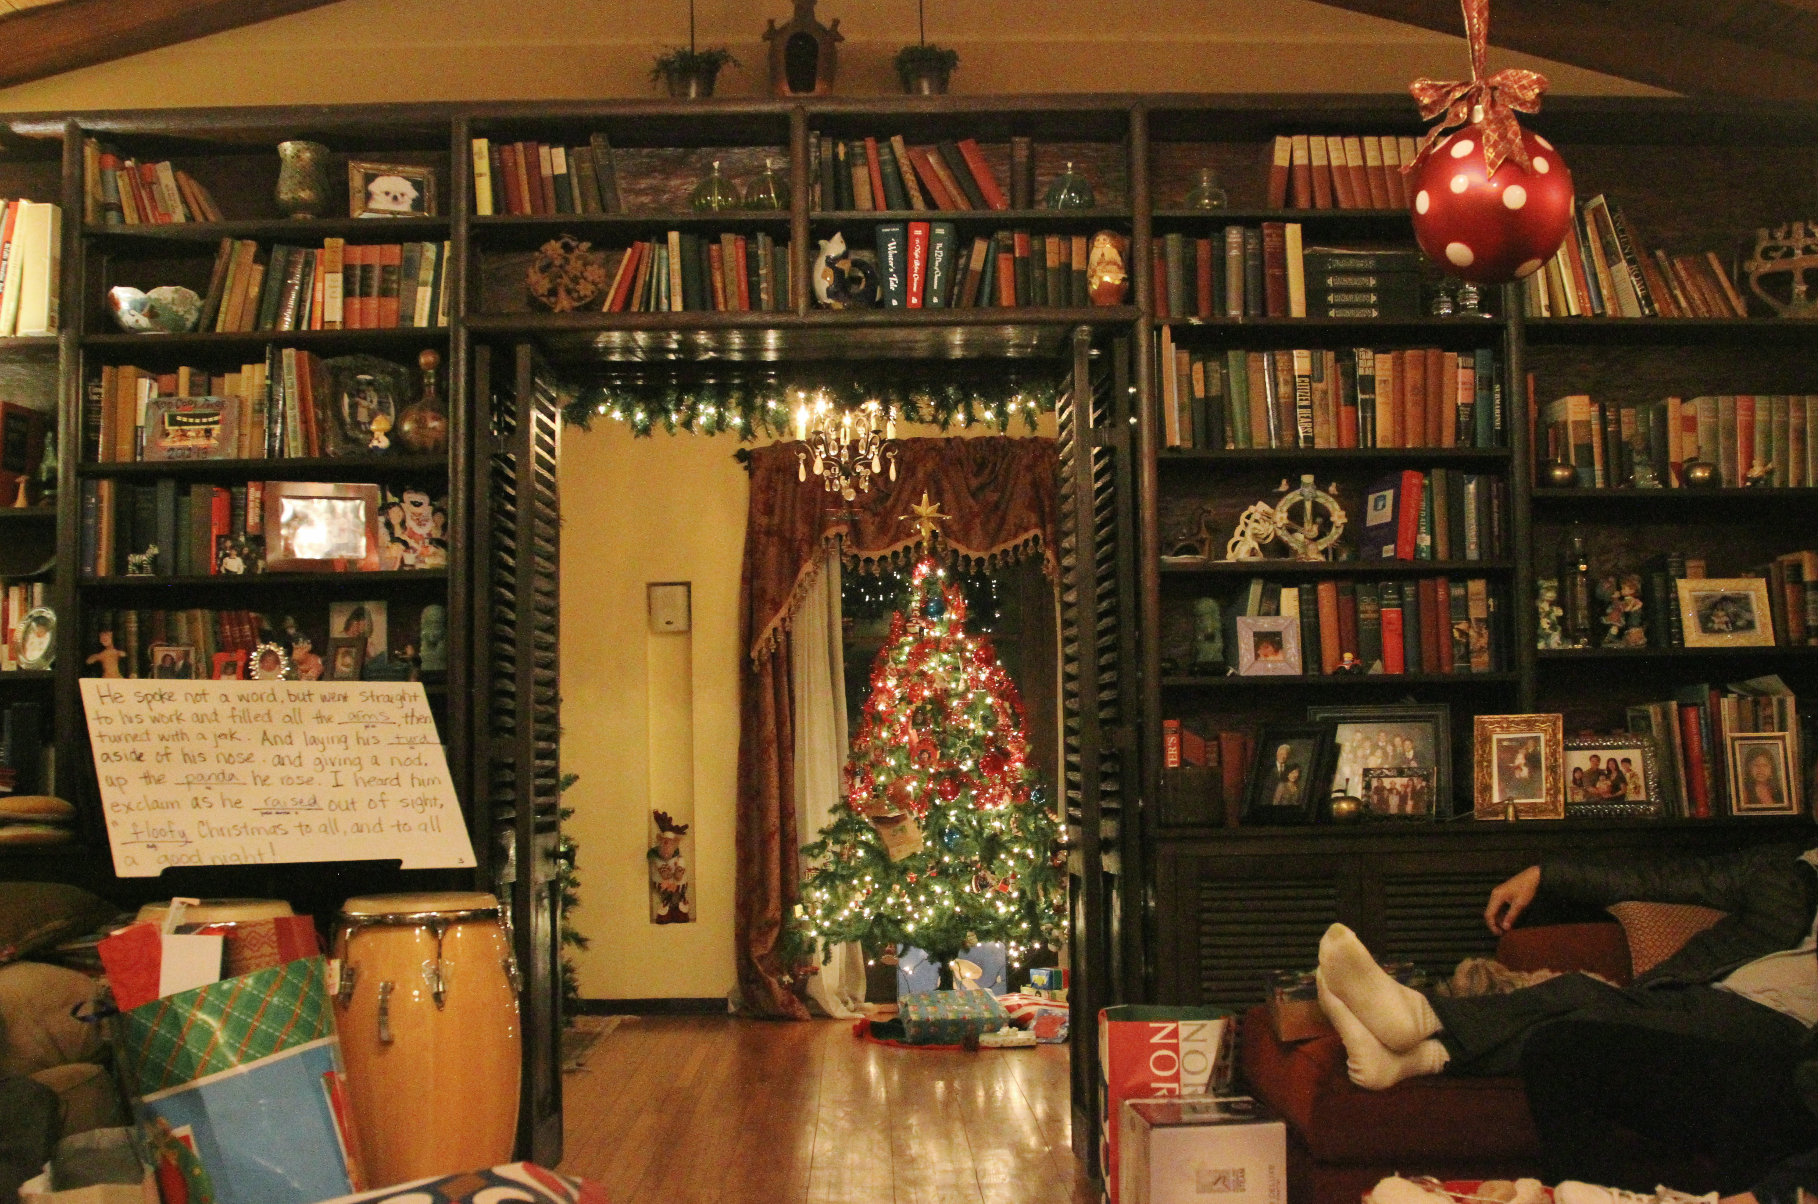
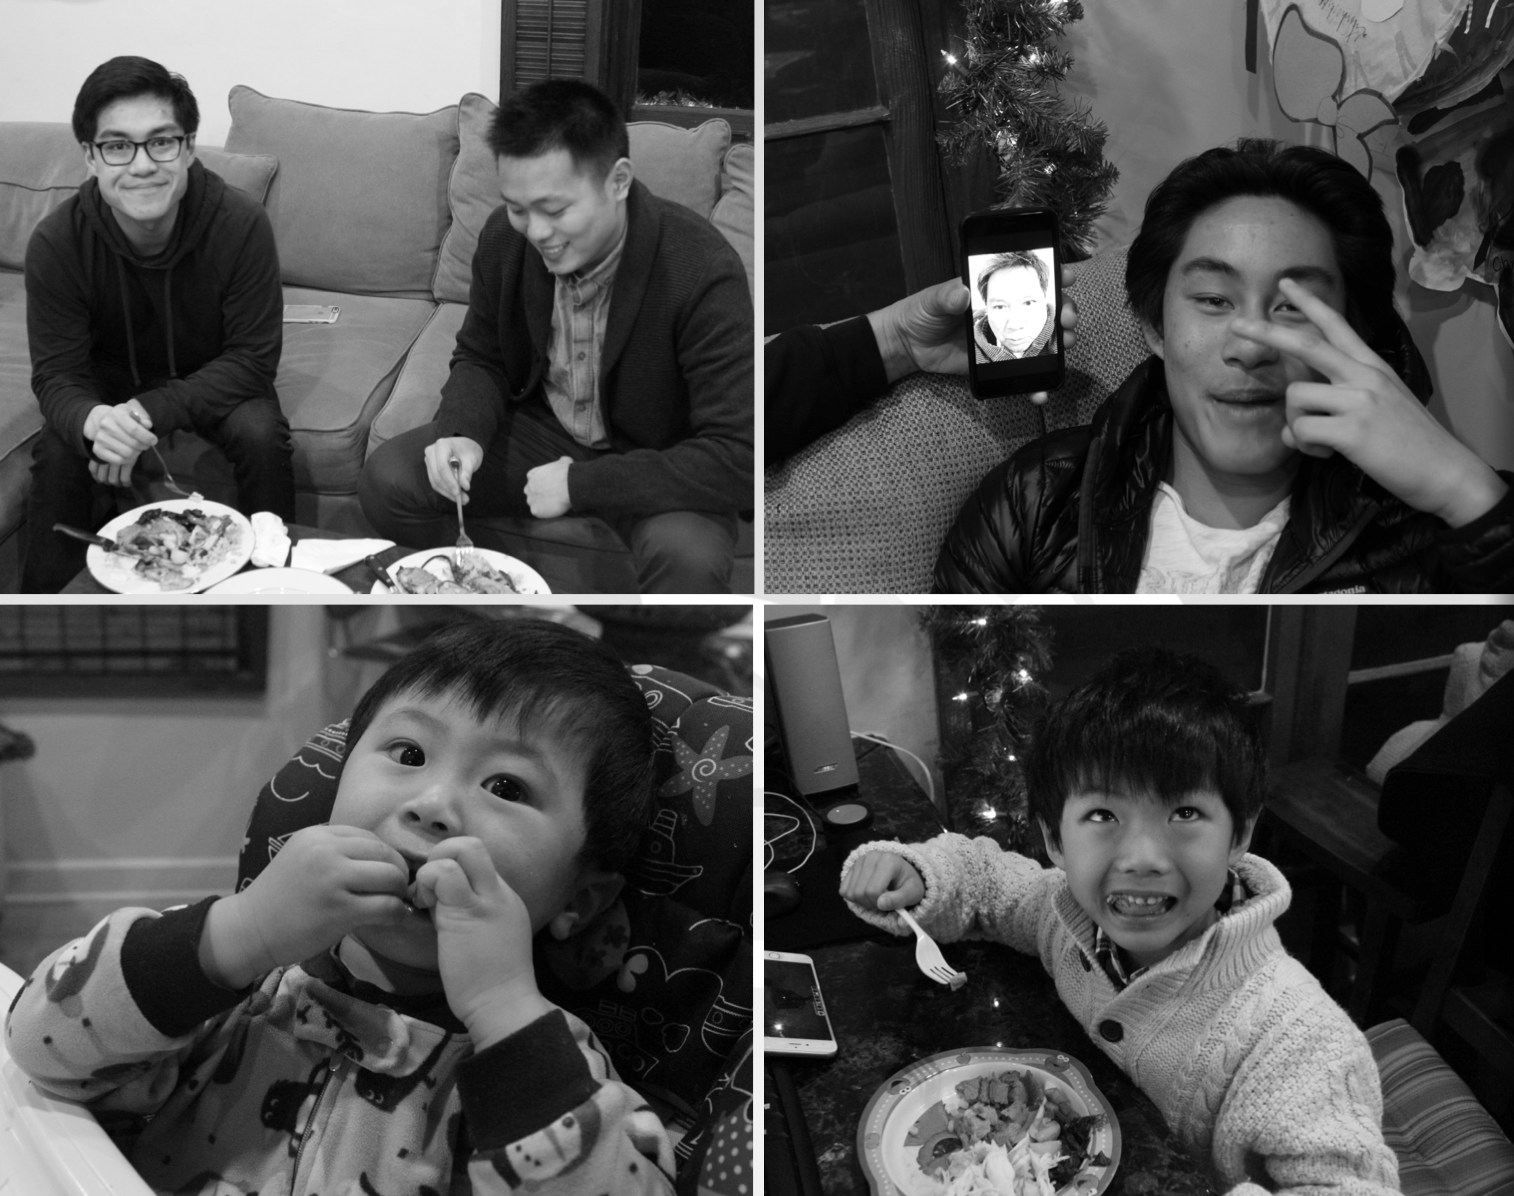
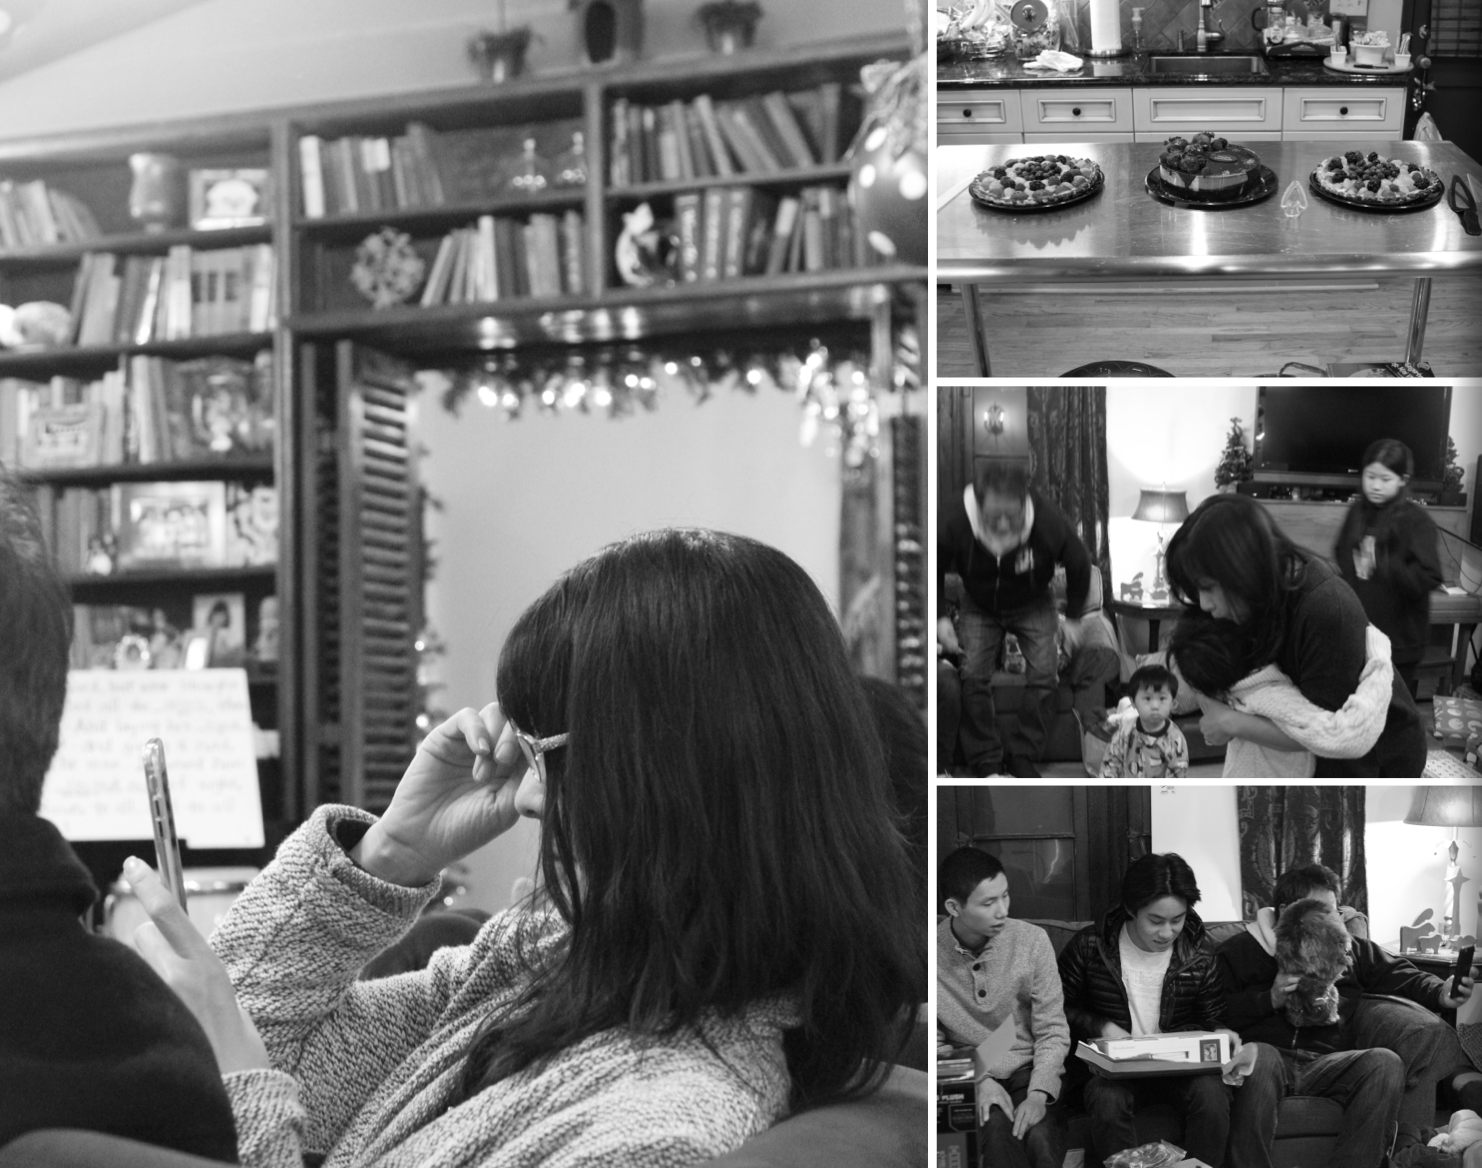
Happy Christmas, Love the Laus
Christmas Card Preview
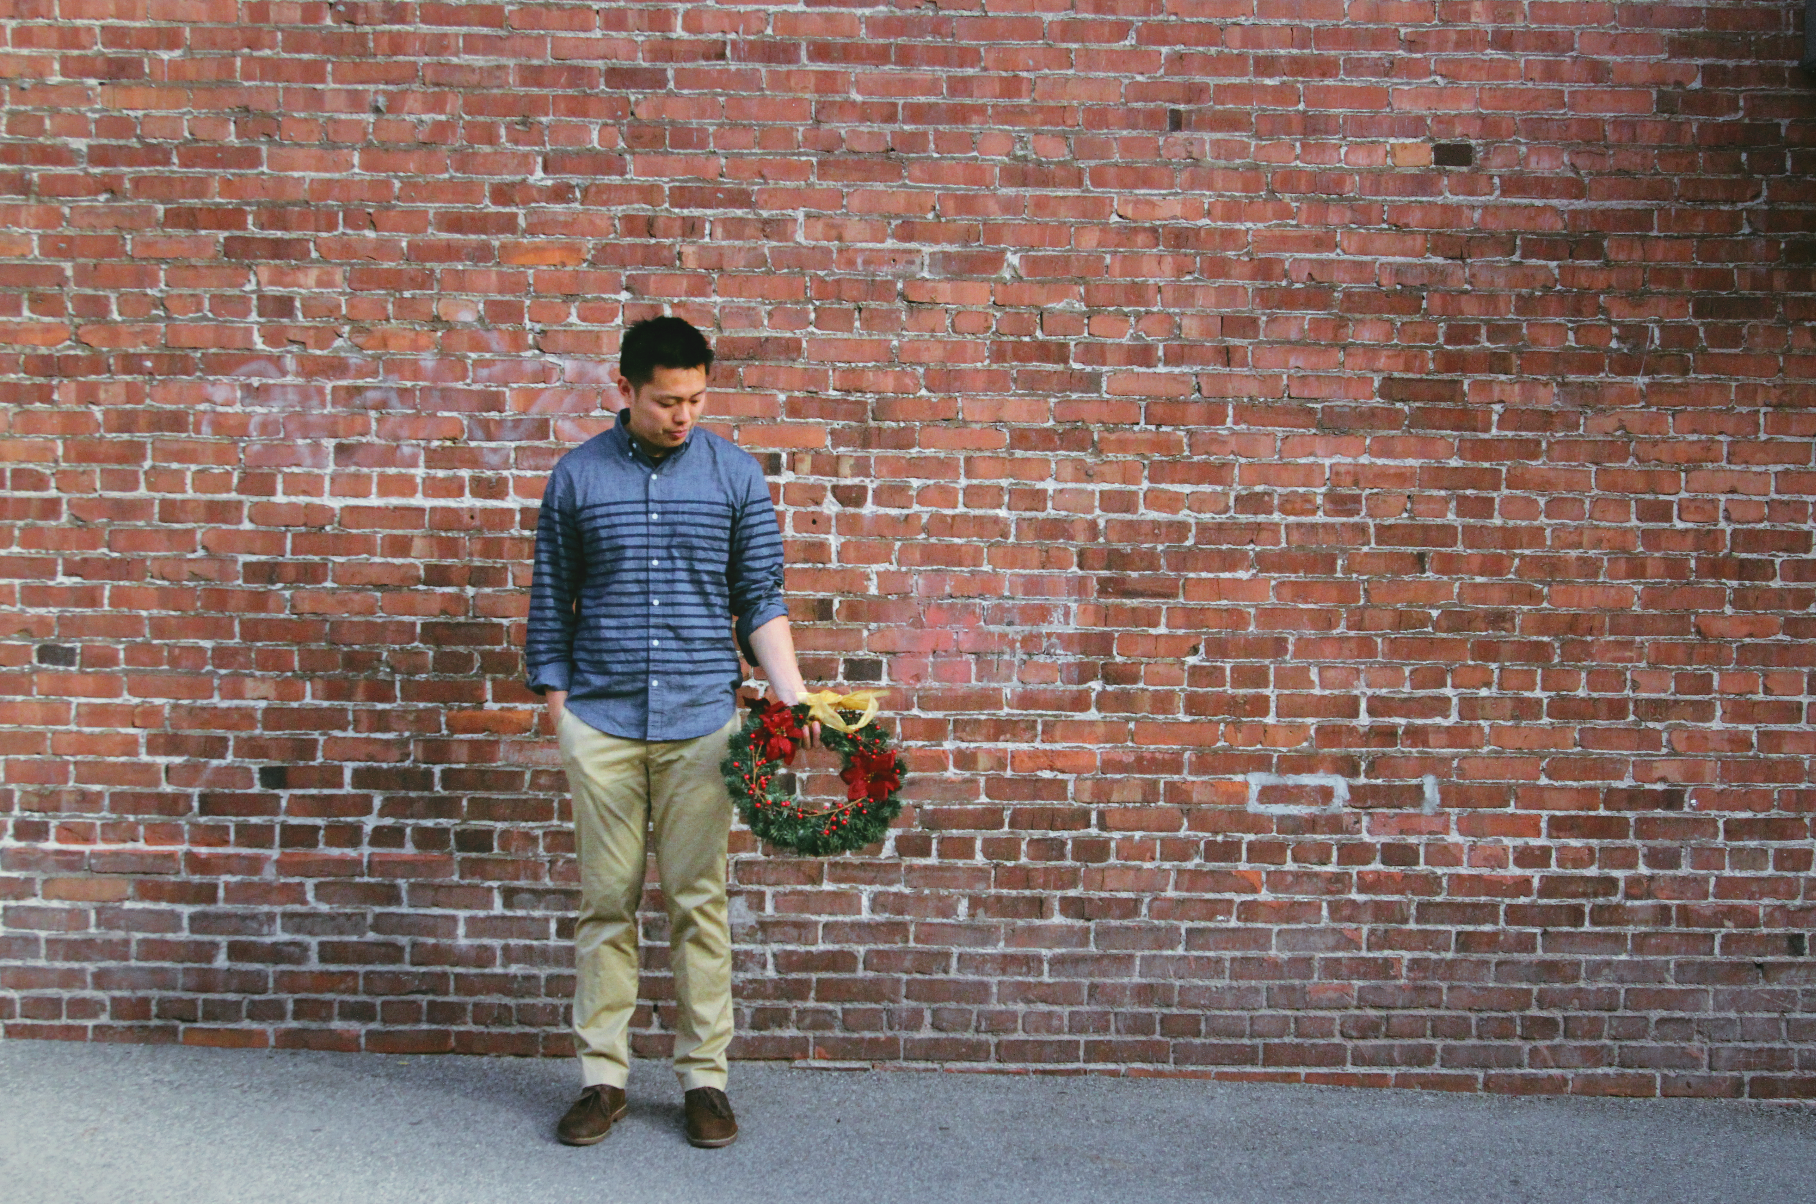

We Make Plans

Next time I get to take the pivture & you hold the bouquet.


Sure, Okay
I may have one great idea... and some ideas are really good, but not great... others are like top right head. End.


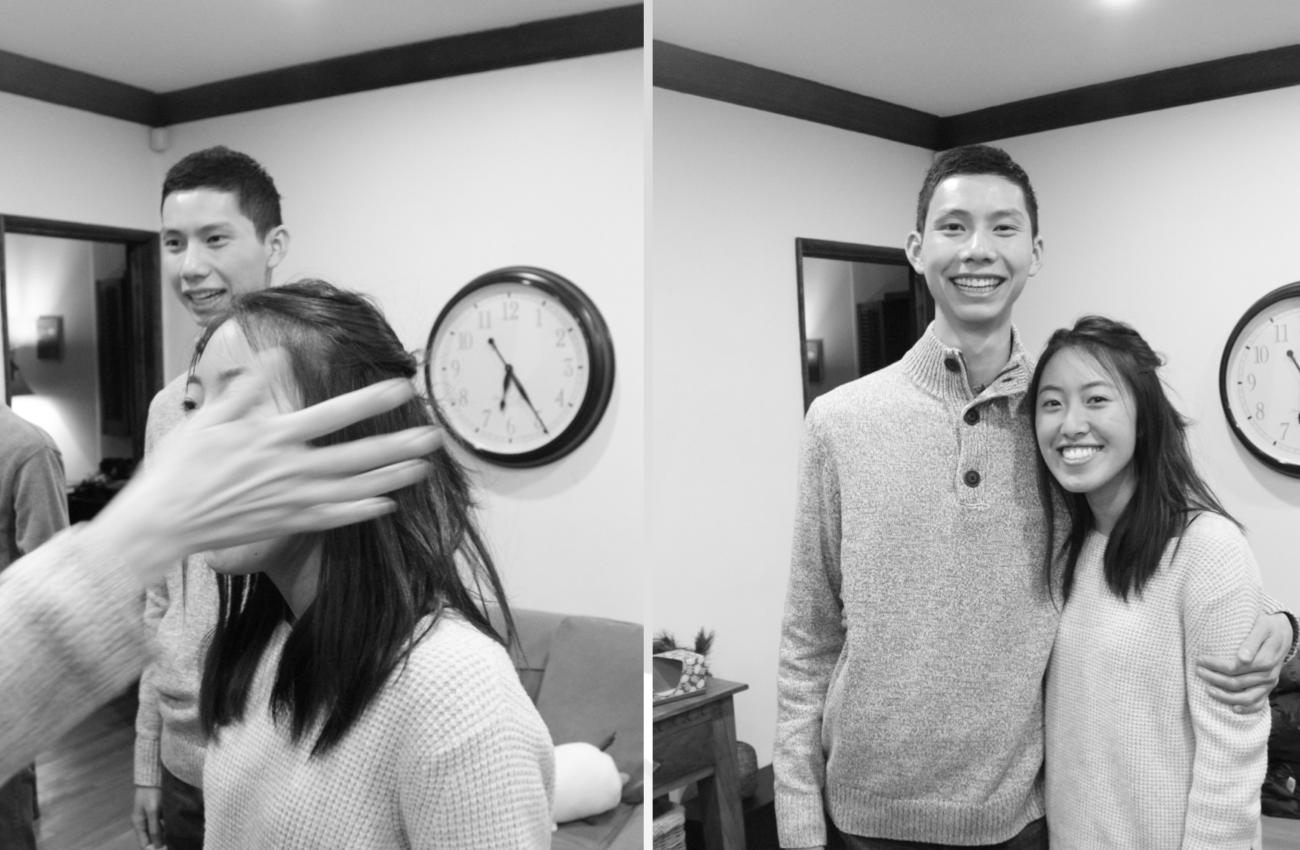
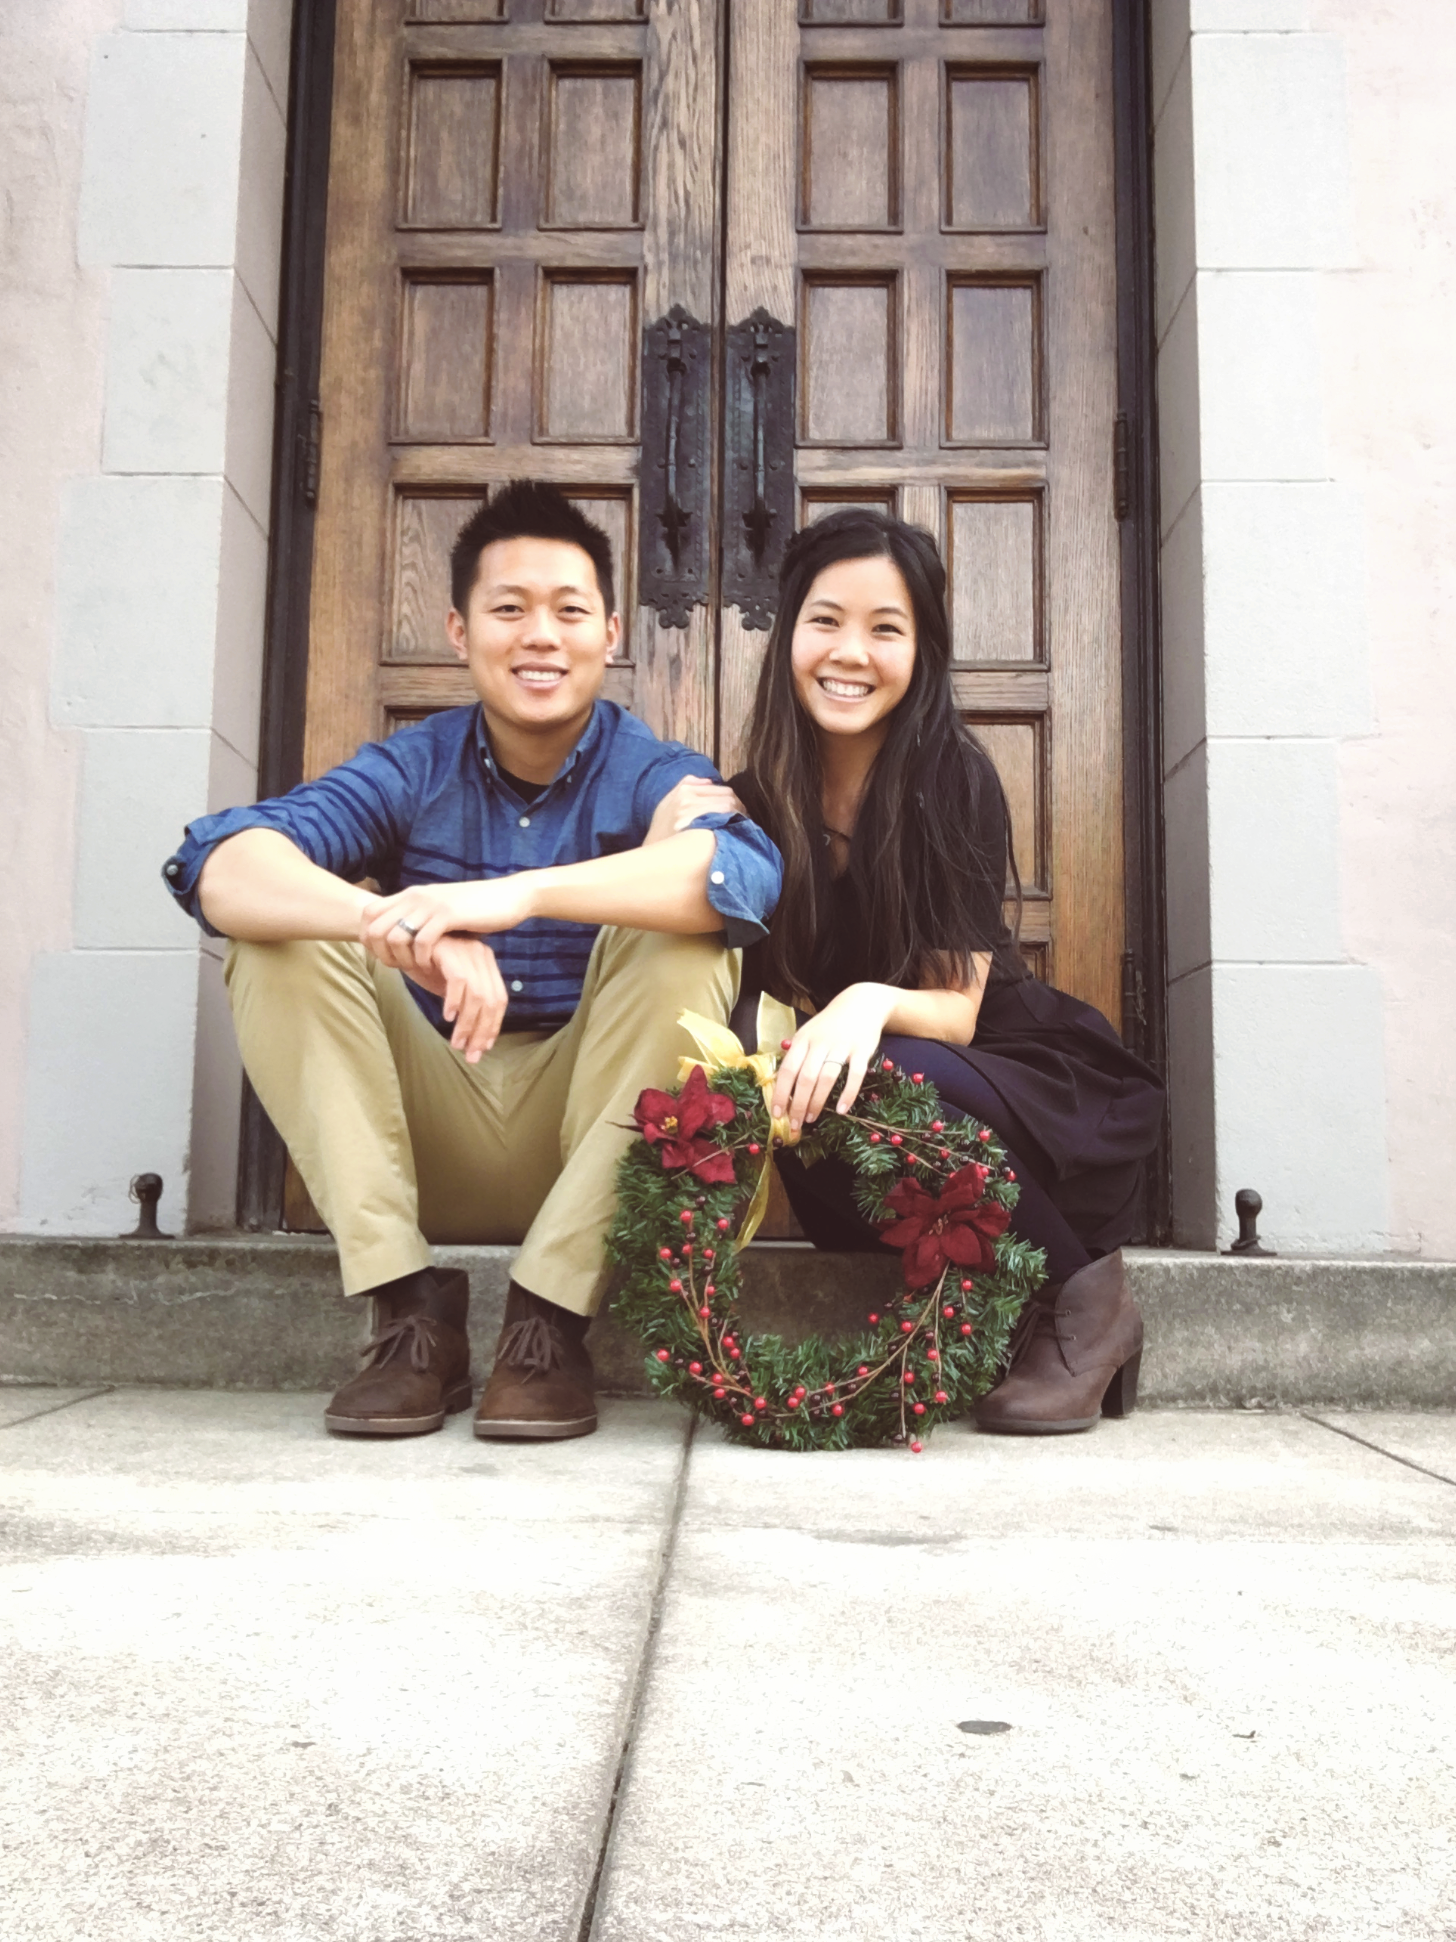
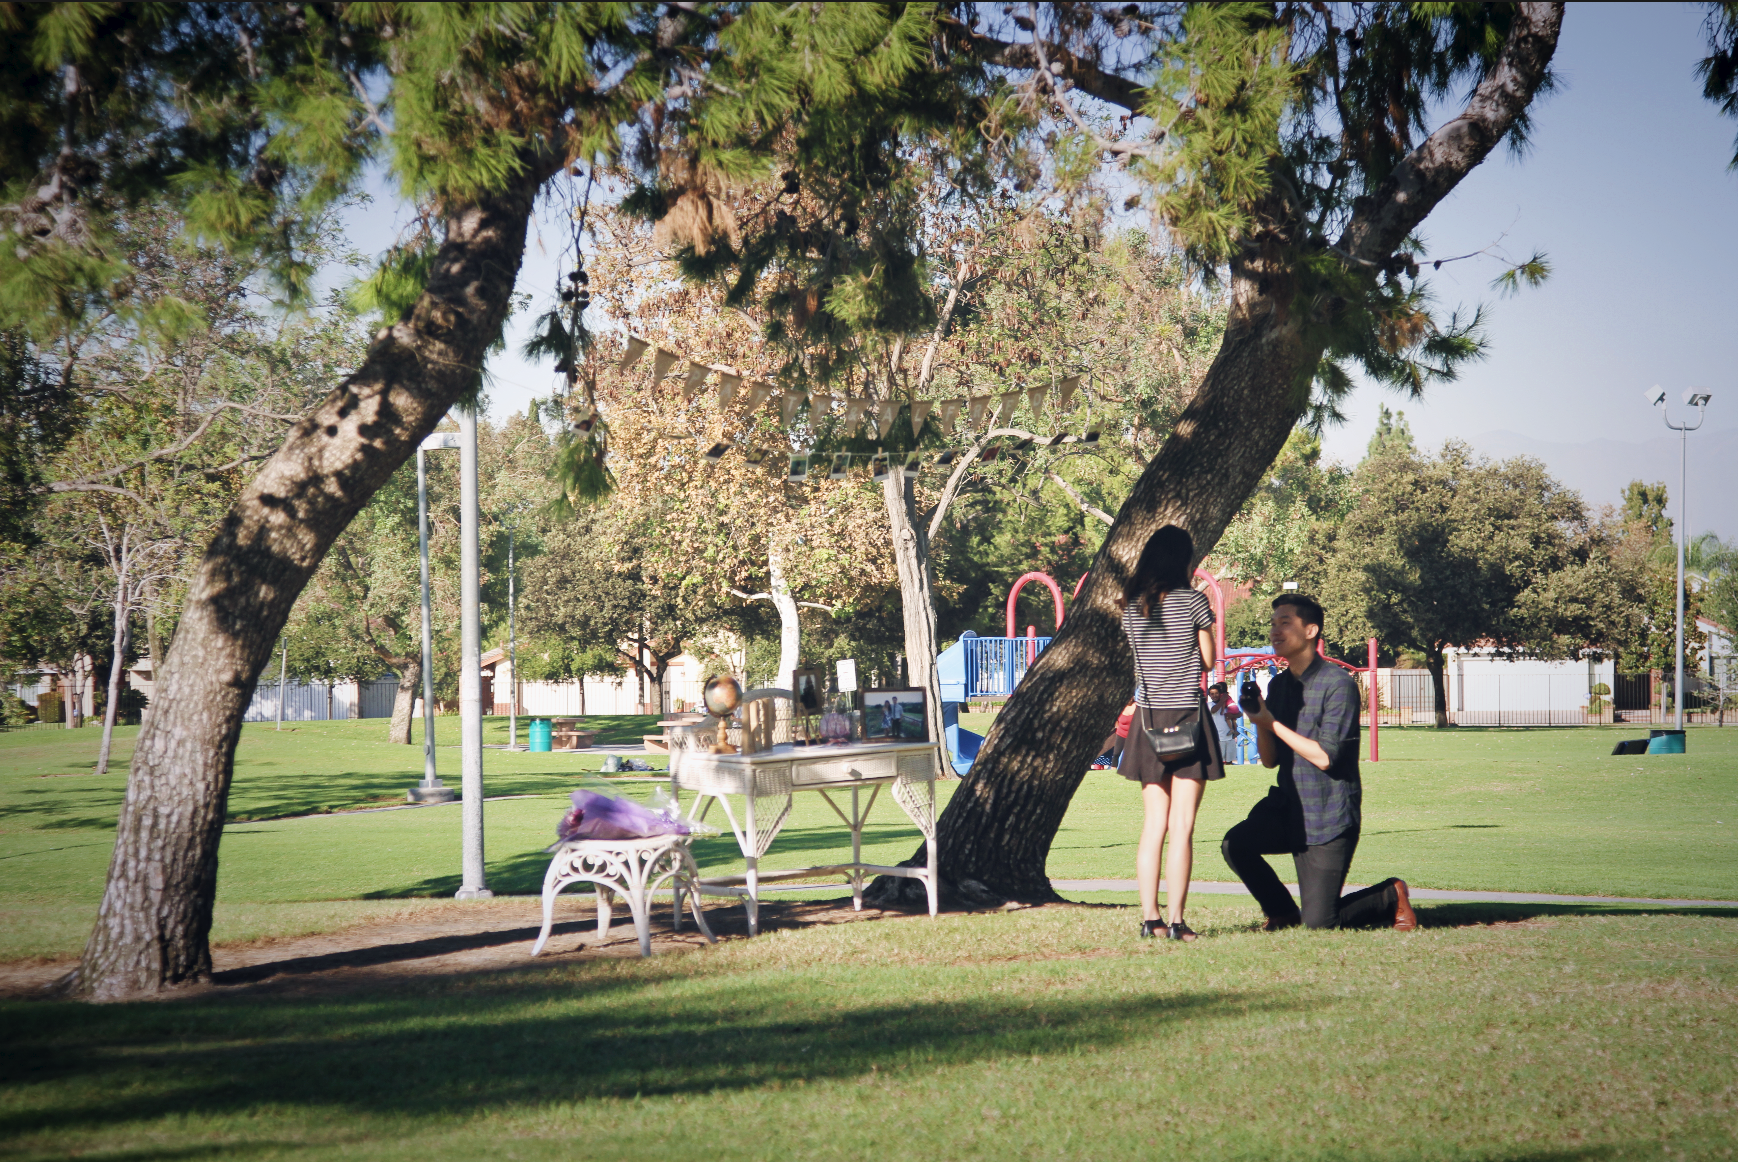
My Best Friend is Engaged!
I know you don't like being photographed, but thank you for always being a good sport. I love you!


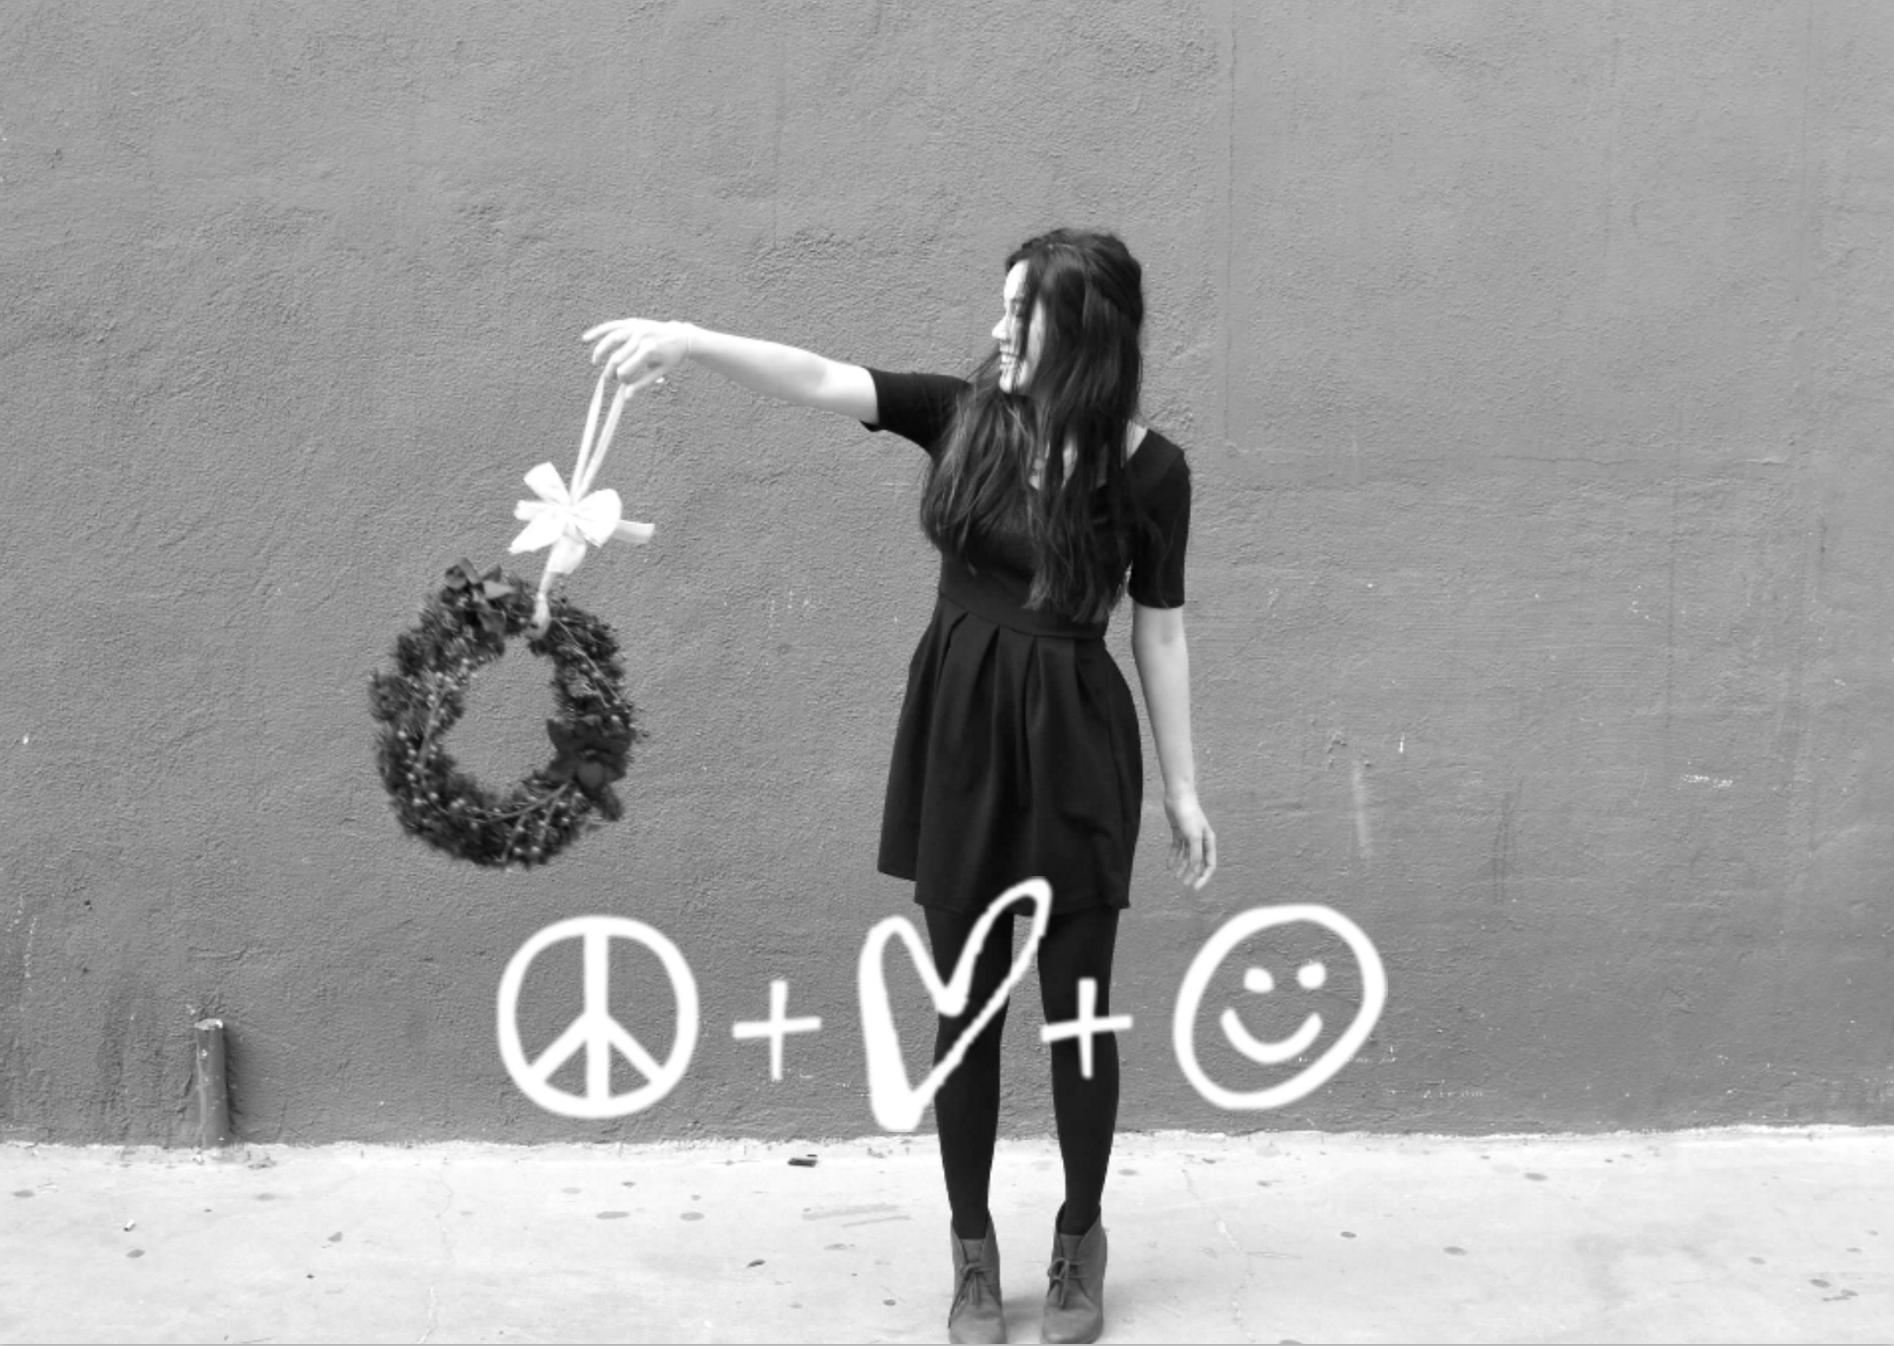
Right before the
Big Moment!
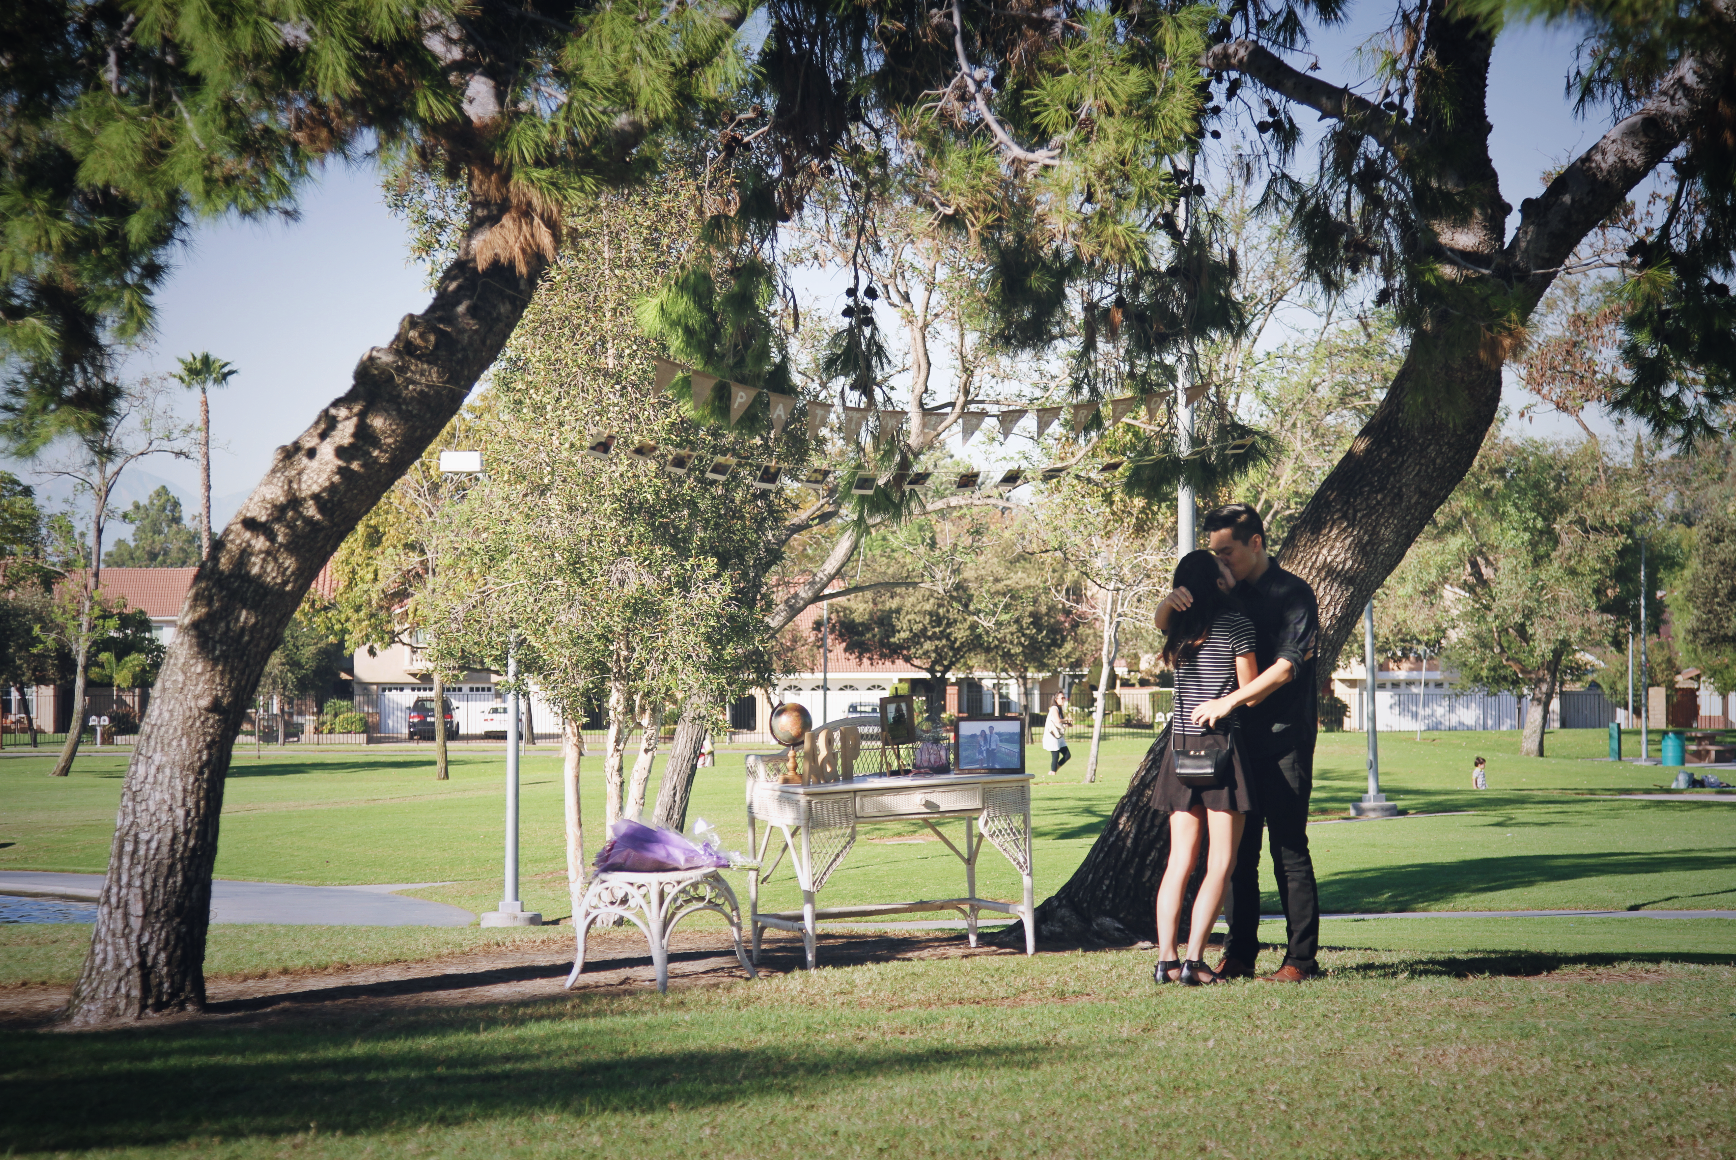
Engaged!!


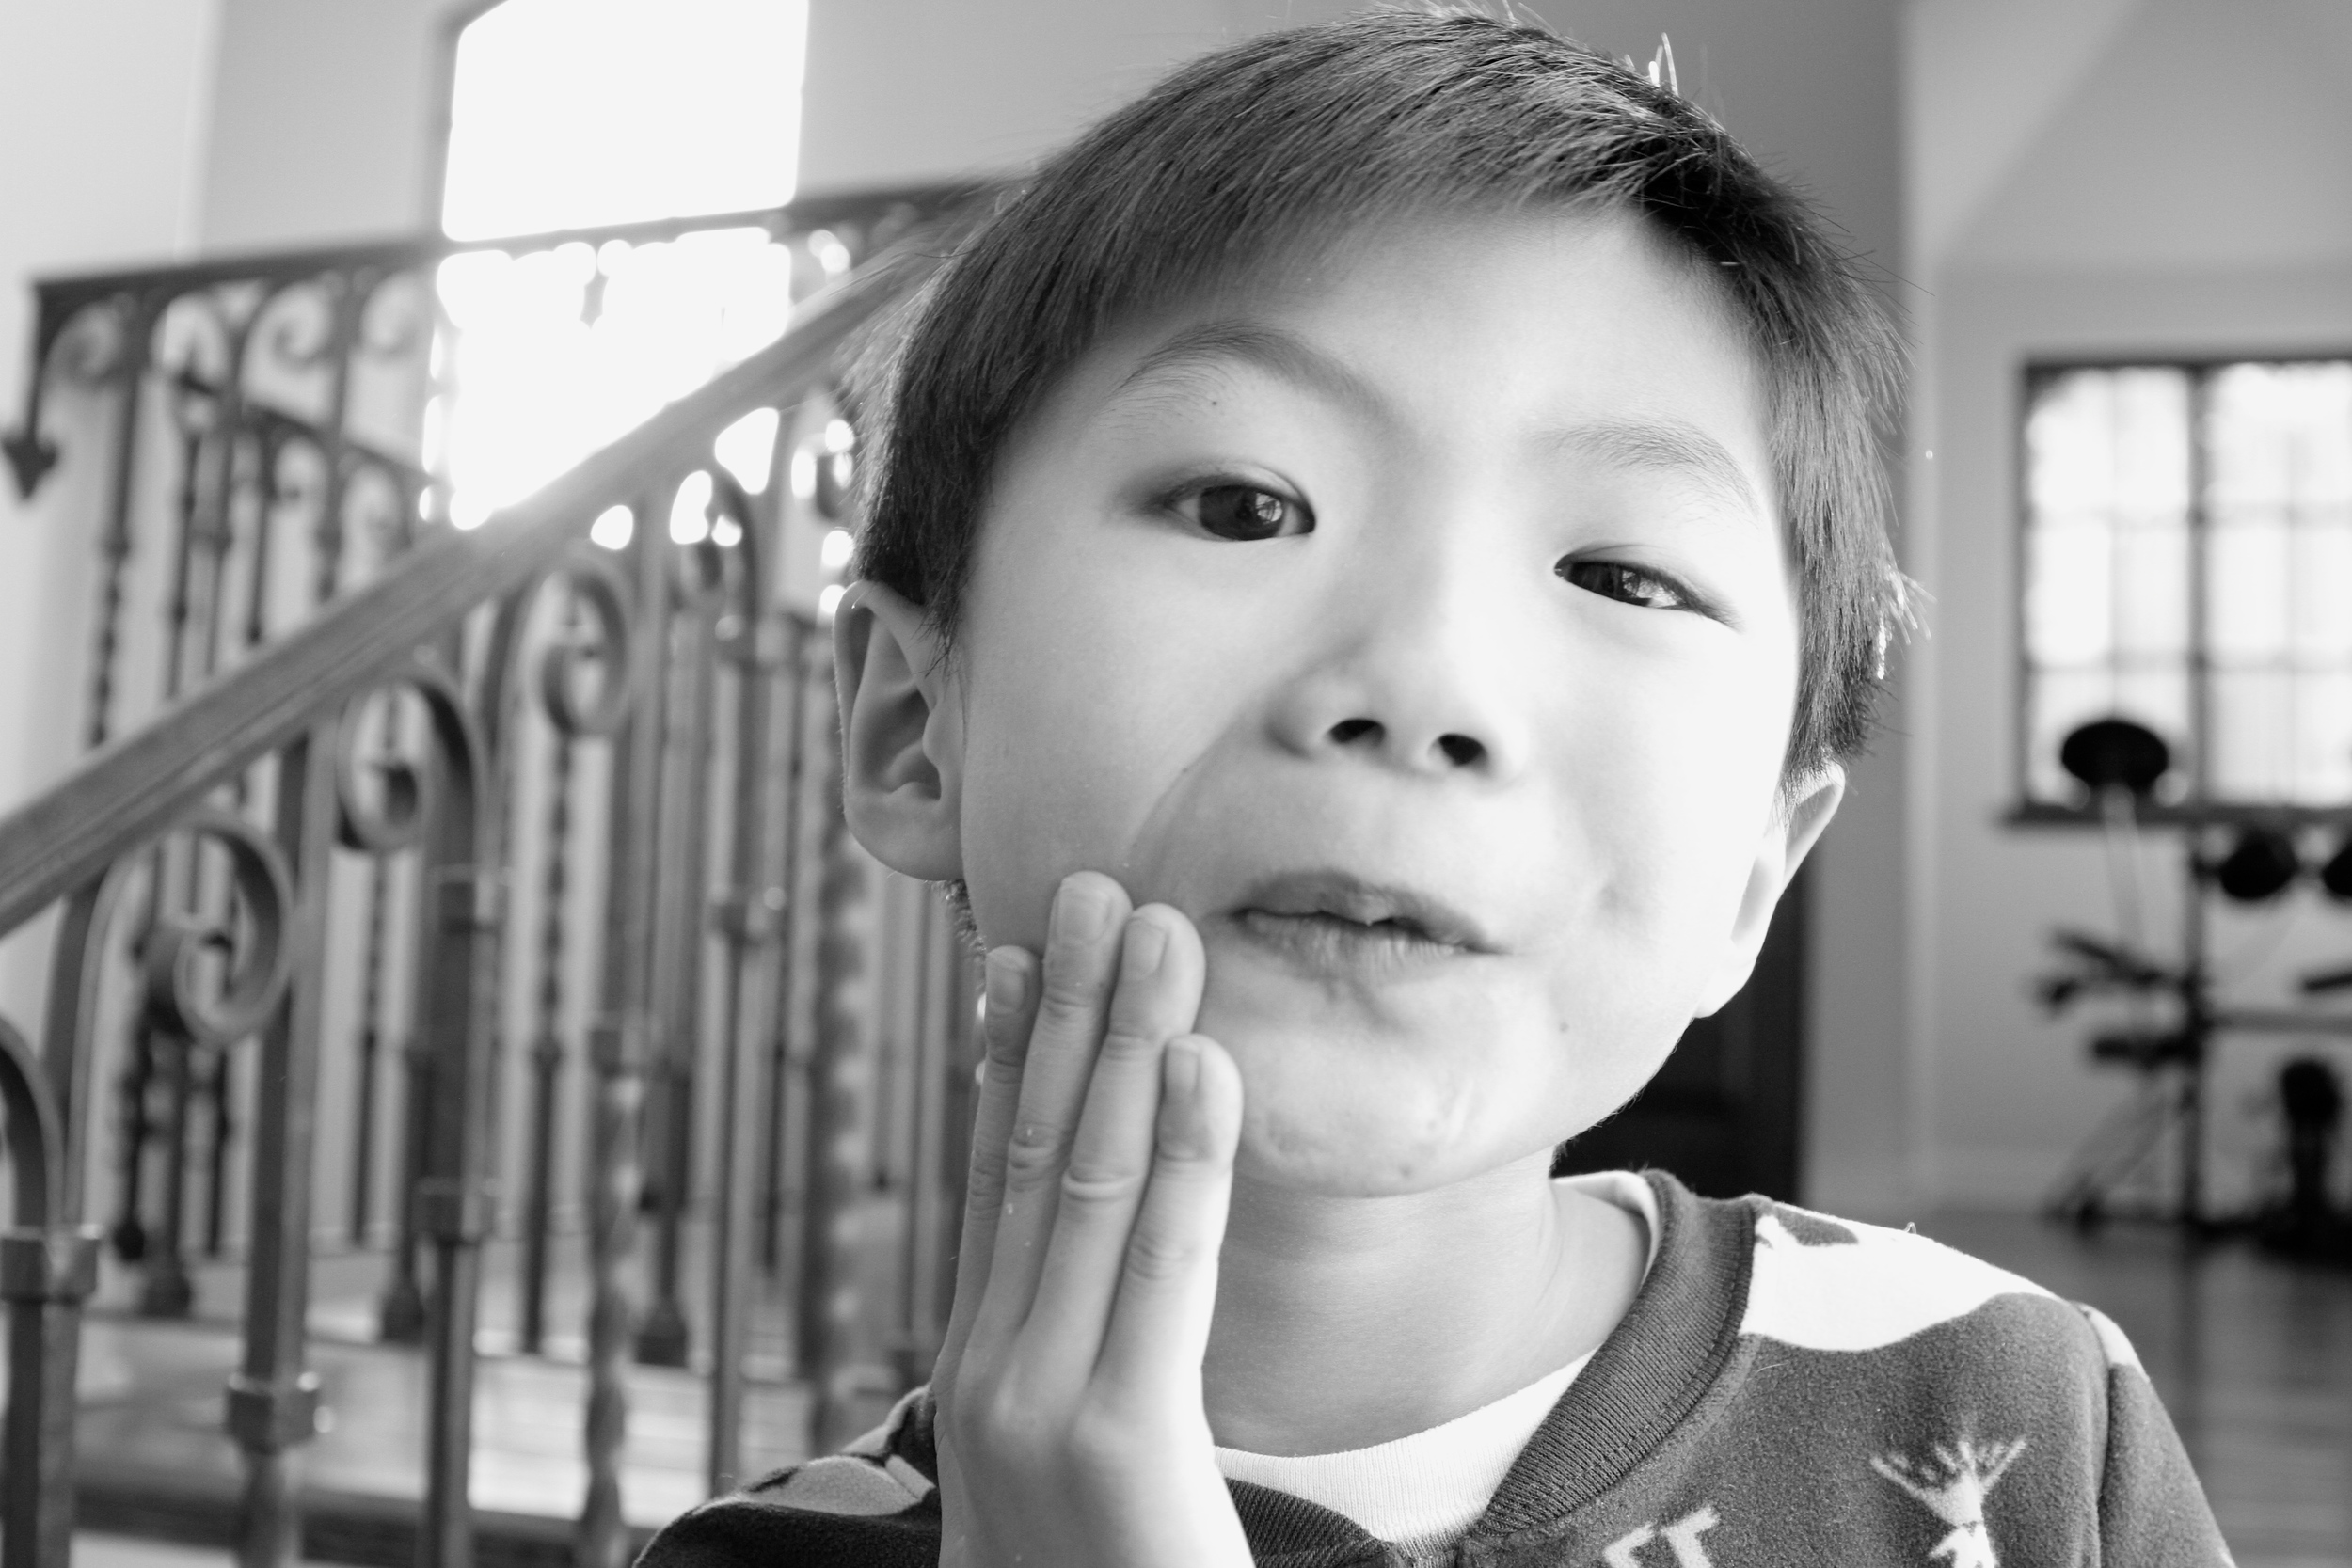
In The Future Everybody Will Be...
Mermaids.


Picture Cards | diy
Supplies: Any Magazine, Markers, Glue, Blank Cards & Envelopes and Scissors.

1. Look through your magazine to find any pictures that have hands, fingers, funny faces, memorable characters, pretty colors, jewels, patterns, etc.
2. Cut out your favorite pictures
3. And glue! Leave it blank or feel free to add some clever captions (:
So far my favorite cards look they are giving a thumbs up. These will probably be congratulation cards. The actual picture is a women holding onto a clutch. Not bad huh??

Alt-J / triangles are my favorite shape
I've been waiting to see Alt-J all summer! I have been super swamped with work, so this was a nice break.

Alt-J is definitely a different kind of sound. Most of the time I have no idea what they are saying. Only at the chorus when the beat slows down, some phrases become clear.
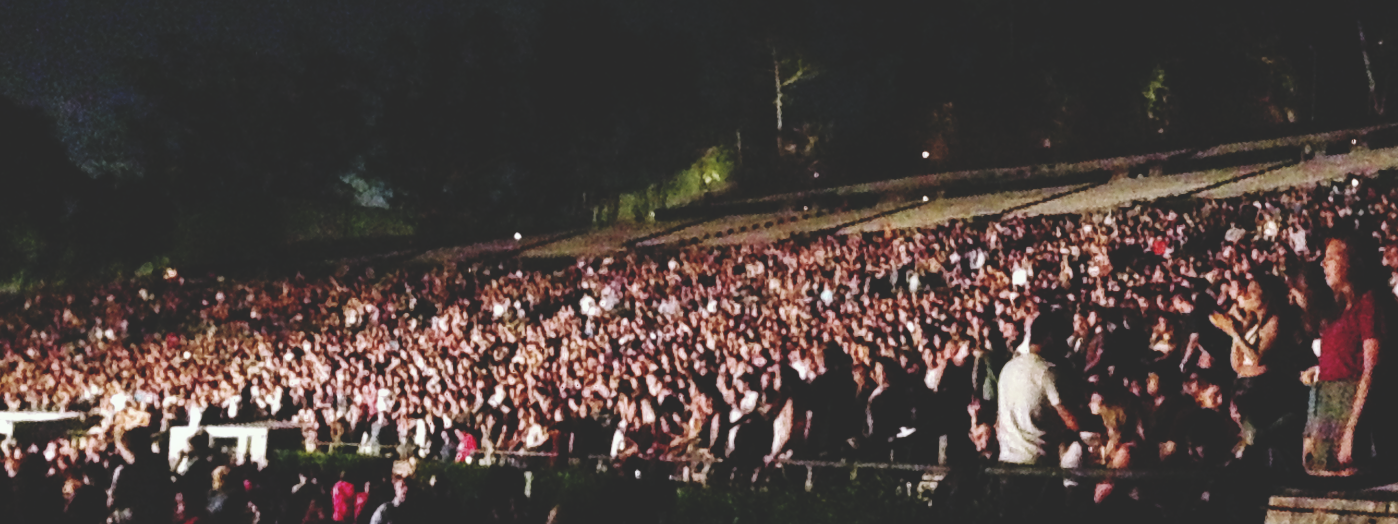
Before the show Lina and I were trying to sing our favorite songs however, it was impossible for the other person to guess. I can play the song so clearly in my head, but when I try to produce the same sounds it is impossible to tell what I am singing.


We had fun seeing Alt-J at the Hollywood Bowl. But I am definitely getting old. I had to sit down during the show and knocked out right when I got home. As my students would say, YOLO!
Here are some of my favorite tracks by Alt-J:
Dissolve Me
Every Other Freckle
Tessellate
Enjoy!
You Know Me

In the words of OG duo, Sam Means & Nate Ruess, "You know the night life is just not for me 'cause all you really need are a few good friends."
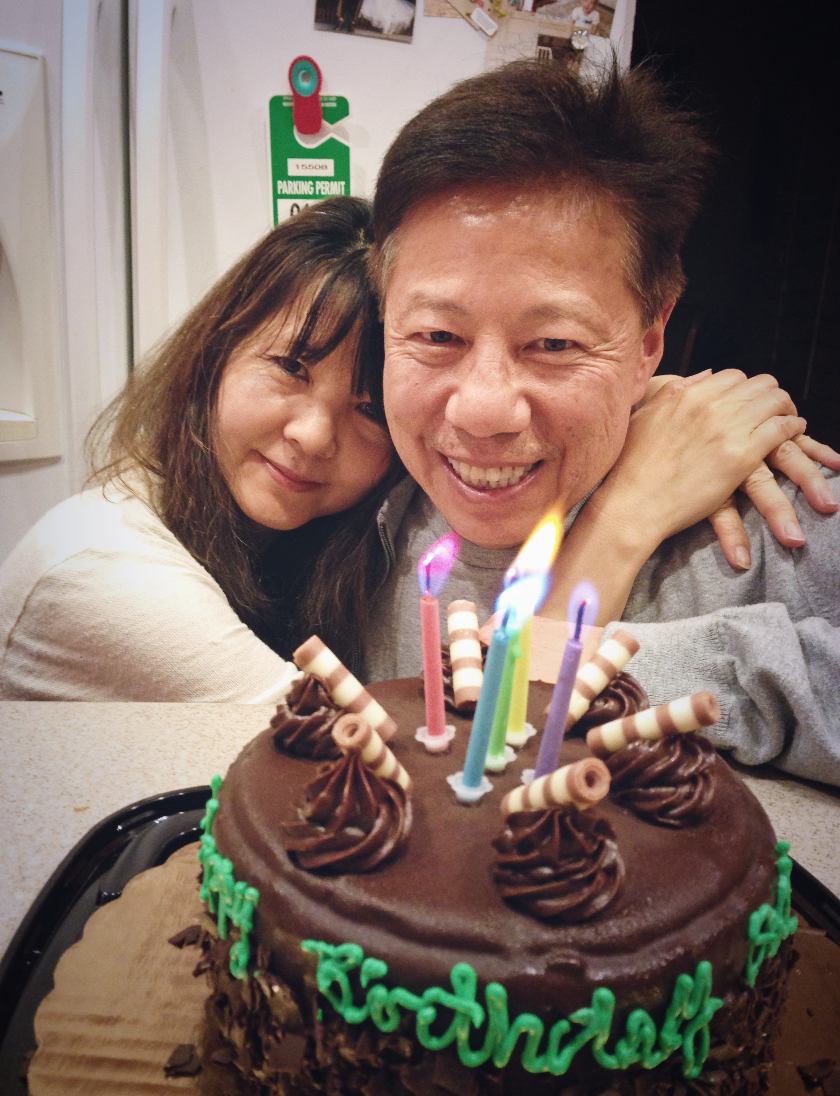
Happy Birdsday Daddy!
Always Love.
Mrs. Lau, Art Teacher
She painted my portrait & called me her best friend..

Finally Home

Heaven's entrance will be much more glorious than this... Waiting to say: "Finally Home"

Plant Pockets- Helpful Hints | diy
Elizabeth found this DIY project for us to tackle on Design Love Fest. The directions seemed simple and the supplies were easy to get, but as we were creating our plant pockets, we discovered some easier ways to complete this project.
This is not a "normal" DIY post, instead it is more of a "helpful hints" page. Please read how to create your own original plant pocket on Design Love Fest first, then read my site for some helpful pointers. Have fun!


Original Supplies List:
• Air dry clay (we used Crayola)
• Rolling pin
• Canvas about 18 x 24 inches
• Exacto blade
• Ceramic pin tool (available at art and craft stores)
• Sandpaper
• Craft or spray paint
• Tissue paper or newsprint and drawing paper
• Small sponge
My Supplies List:
- Air Dry Clay (use Michael's 40% coupon )
- Rolling Pin
-Cutting Board
-Exacto Knife/Blade
-Pencil
-Newspaper & paper
-Acrylic Paint
1. Elizabeth decided to make the same circular pocket as Design Love Fest, but I wanted to try something different. I made hearts.

2. Instead of canvas, we used a cutting board. A cutting board is more accessible and it served the same purpose.
3. A ceramic pin tool is definitely not necessary. Use your Exacto knife instead to score the edges where your two pieces will meet to form the pocket.


4. Wet your finger instead of a sponge to help the coil stick to the other piece of clay
5. Be careful. When you attach the second piece, use your fingers to help structure the pocket. It is actually kind of flimsy and could crack, rip or dry weird.

6. Use a pencil (eraser side) instead of a ceramic pin tool to puncture a hole for a future nail

7. Lastly, paint the outside layer to leave a smooth finish

Hopefully I was able to give you a few helpful tips. Let me know if you decide to do this DIY as well. I'd love to compare notes (:
P.S. Don't you think my final products are fitting for a little girl's room?